

Not every classroom moment calls for a Chromebook cart. Sometimes you want students working on paper — heads down, pencils out, no screens glowing — but you still want the instant data you’d get from a digital quiz. That’s exactly the gap express grader in pear assessment is built to close. It lets you deliver a test on paper, collect the finished bubble sheets, scan them with a phone or webcam, and watch the scores appear in your Pear Assessment reports as if students had taken the test online.
In this guide, we’ll walk through how Express Grader works, how to set up an answer-on-paper assignment step by step, how to print and scan bubble sheets without headaches, and what to do when a scan doesn’t read cleanly. By the end, you’ll have a paper-testing workflow that gives you digital-quality data with old-school paper simplicity.
What is Express Grader in Pear Assessment?
Express Grader is Pear Assessment’s paper-grading companion. Instead of students clicking answers in the test player, they fill in bubbles on a printed answer sheet. When the test is over, you scan the stack of sheets using a phone camera or a computer webcam, and the platform reads the bubbles, matches each sheet to the right student, and grades everything automatically against your answer key.
The reason teachers love this workflow is simple: the grading is the fast part of testing, but the data is the valuable part. With Express Grader, a paper quiz feeds the same reports as an online one, so you can compare results across classes, spot the questions everyone missed, and plan tomorrow’s reteach from real numbers instead of a gut feeling. If you’ve used our guide to printing a test on Pear Assessment, think of Express Grader as the other half of that workflow — printing gets the test onto paper, and Express Grader brings the results back into the platform.
A few things worth knowing before you start:
- Express Grader works with tests built in Pear Assessment, so your existing question bank and standards tags carry over.
- Each bubble sheet is tied to a student, which is how the scanner knows whose test it’s reading.
- Questions that can’t be bubbled — essays, drawings, show-your-work problems — still need human grading, but everything objective is scored for you.

how do i set an assignment so students answer on paper in pear assessment
Setting up an answer-on-paper test starts the same way as any other assignment, with one extra decision: how students will respond. Here’s the flow from start to finish.
Step 1: Build or pick your test. Create a new assessment or open one you’ve already made. Tests built from multiple-choice and other auto-gradable question types work best, because those are the answers a bubble sheet can capture. This is a good moment to review the Pear Assessment question types and favor the ones that translate cleanly to bubbles.
Step 2: Assign it to your class. Choose the class, set your open and due dates, and apply any settings you normally use — shuffling, calculator access, and so on.
Step 3: Choose the paper response option. In the assignment settings, select the option that lets students answer on paper rather than in the online test player. This is the switch that connects your assignment to Express Grader and generates the scannable answer sheets for your roster.
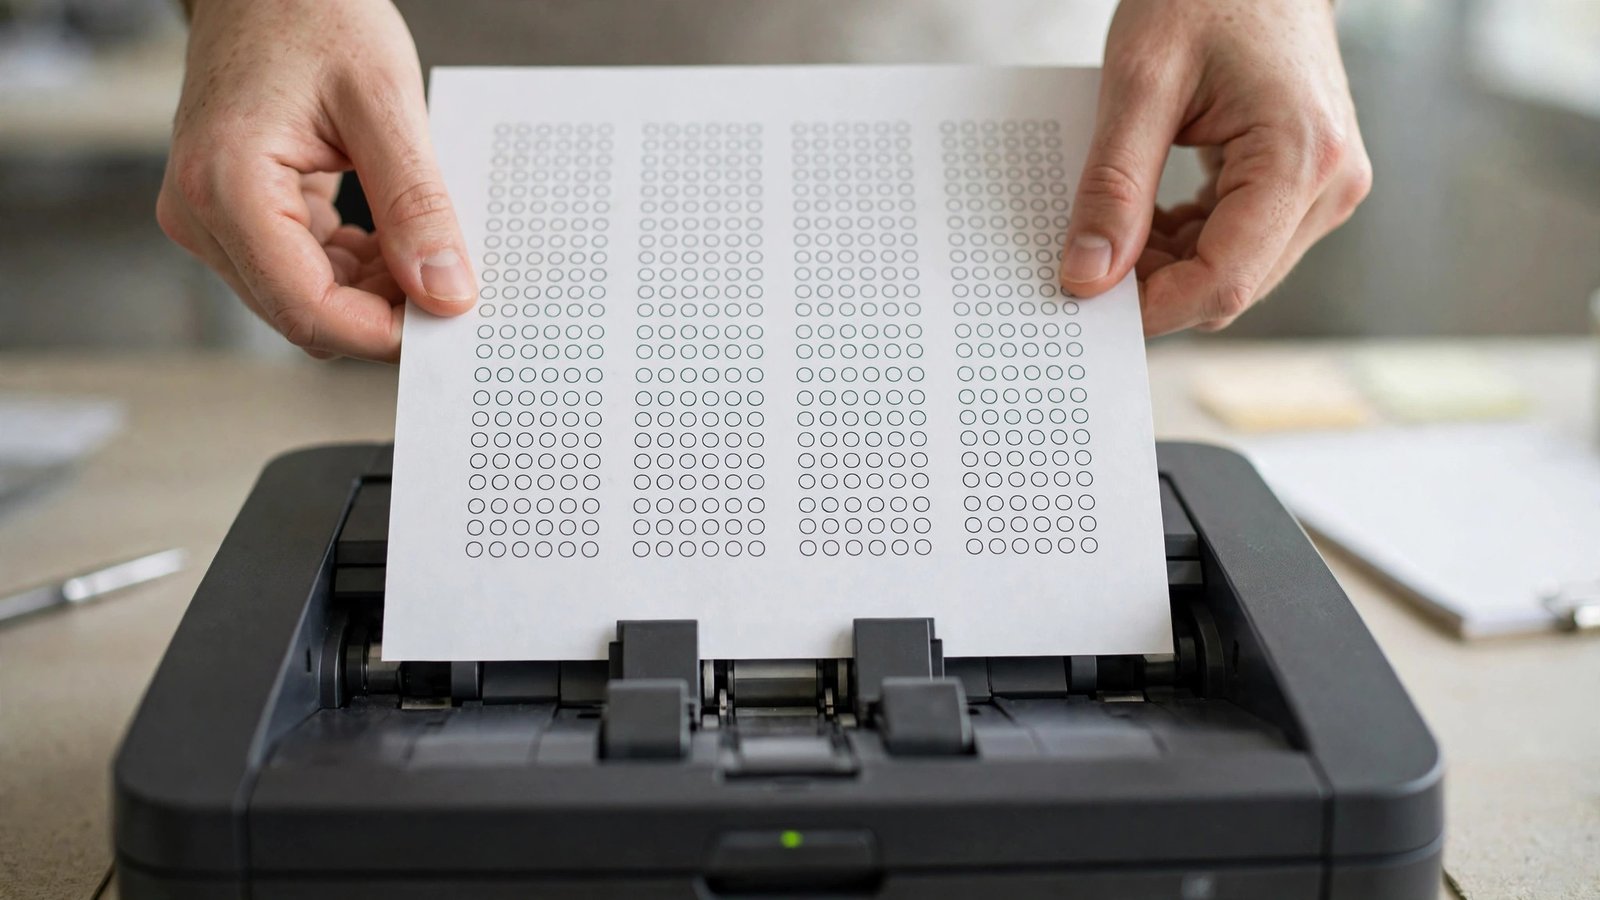
Step 4: Print the answer sheets. Generate and print the bubble sheets — one per student. Each sheet is pre-identified for a specific student in your class, so keep them in order or hand them out by name.
Step 5: Run the test. Students take the test on paper, filling in bubbles with a pencil or dark pen. Remind them to fill bubbles completely and erase cleanly if they change an answer — the scanner reads marks, not intentions.
Step 6: Scan and grade. Open Express Grader, scan each sheet, and review the results before finalizing. Scores flow straight into the assignment’s reports.
That’s the whole loop. Once you’ve done it once, the second time takes minutes, because your test, settings, and roster are already in place.
Printing bubble sheets your students will actually fill in correctly
Most scanning problems are really printing and instructions problems. A few habits make a big difference:
- Print at 100% scale. Bubble sheets are read by position, so “fit to page” scaling can distort the layout. Use your printer’s actual-size setting.
- Use plain white paper. Colored or recycled paper with heavy flecking can confuse the reader, especially on older scanners and phone cameras.
- Check the first sheet. Hold one printed sheet next to the on-screen preview. If the bubbles look crisp and aligned, print the rest.
- Brief your students. Thirty seconds of instruction — fill the bubble fully, no check marks, no X’s, erase completely — saves you ten minutes of cleanup later.
- Keep a few blanks. If a sheet gets crumpled or a student writes on the wrong one, extras let you swap quickly. Just make sure the replacement sheet is matched to the right student before you hand it over.
Scanning finished tests with Express Grader
When the testing period ends, collect the sheets and open Express Grader on your phone or computer. The scanning flow is designed for speed: you hold each sheet in view, the camera finds the bubbles, and the app captures the responses. Work through the stack steadily rather than rushing — consistent lighting matters more than pace.
Scan in natural or bright overhead light and keep the sheet flat. Glare from a glossy desk or a shadow falling across the sheet is the most common cause of a misread. If a sheet won’t capture, smooth it out, move to better light, and try again before assuming the sheet is the problem.
As you scan, Express Grader shows you what it read. Sheets that match a student and a clean set of bubbles are confirmed quickly. Sheets with stray marks, double-bubbled questions, or light fills get flagged for your review — the system would rather ask you than guess, which is exactly what you want when grades are on the line.
What happens after scanning: scores, reports, and quick fixes
Once scanning is done, the results behave like any other Pear Assessment assignment. Scores appear in your reports alongside your online tests, so you can open the Pear Assessment reports and dig into item analysis, standards mastery, and individual student results without any extra exporting or spreadsheet surgery.
Before you release anything to students, take two minutes to review the flagged sheets:
- Unmatched sheets — a sheet that couldn’t be tied to a student usually means the identifying area was marked unclearly. Assign it manually to the right student.
- Ambiguous answers — for double-bubbled or partially erased questions, you decide what the student intended, or mark it as-is. Your judgment beats the camera’s.
- Unanswered questions — confirm a blank really was blank, rather than a too-light fill the scanner missed.
You can also hand-grade any constructed-response items at this stage if your test mixed bubbled and written questions. When everything checks out, finalize the grading and, if you wish, release the scores the same way you would for an online test.
When should you choose paper over the online test player?
Paper delivery shines in a few specific situations. If your school has limited devices, a paper test keeps assessment moving without a booking war over the Chromebook cart. If you’re testing younger students who type slowly, bubbling is faster and less frustrating. Paper is also a calm, focused option for high-stakes practice — unit tests and benchmark rehearsals where you want exam-like conditions. And for math classes, paper lets students show their work in the margins while still giving you auto-graded results for the objective items. Many teachers run a hybrid: paper for the main test, Express Grader for scoring, and the online reports for analysis.

Troubleshooting common scanning problems
Even with good printing habits, a few hiccups show up in almost every teacher’s first scanning session. Here’s how to handle the usual suspects:
- The camera won’t capture the sheet. Almost always a lighting or angle issue. Move away from windows that cast harsh side light, lay the sheet completely flat, and fill the frame with the sheet rather than holding it at a distance.
- A student’s sheet won’t match to their name. The identification area on the sheet was probably filled in lightly or smudged. You can assign the sheet to the correct student manually during review — the responses themselves are usually fine.
- Answers read as blank that weren’t. Light pencil marks are the classic culprit. This is why the briefing matters: dark, fully filled bubbles read reliably, while ghost-gray circles gamble with the scanner.
- Scores look wrong for the whole class. Don’t panic — check the answer key first. If one question was keyed incorrectly when you built the test, every sheet inherits the mistake. Fix the key, and the results can be updated without rescanning a single page.
- A sheet is damaged. A torn or coffee-stained sheet may not read at all. Have the student transfer their answers to a fresh sheet matched to their name, then scan the replacement.
Notice the pattern: nearly every problem is fixable in the review step, and none of them require re-testing your students. That safety net is what makes the workflow practical for real classrooms rather than just tidy demo videos.
Tips for a smooth first run
Start small. Use Express Grader on a short quiz before you trust it with a big unit test, so you can learn the scanning rhythm when the stakes are low. Keep your class roster current — the sheet-to-student matching depends on it. And tell students the plan in advance: kids who know their bubble sheet will be scanned tend to fill in bubbles more carefully than kids who think a human with a red pen will interpret their half-filled circles generously.

Frequently asked questions
Do students need devices for an Express Grader test?
No. Students only need the printed answer sheet and a pencil or dark pen. The scanning happens on the teacher’s phone or computer.
Can I mix paper and online students in the same class?
In practice, teachers usually pick one delivery method per assignment to keep things simple. If some students need the online player for accommodations, you can assign them a separate online copy of the same test and combine the picture in your reports.
What if a student is absent on test day?
Their sheet simply doesn’t get scanned with the rest. Scan it when they take the make-up test, and their score joins the same assignment data.
Does Express Grader handle written answers?
Bubbles are what the scanner reads. Written responses still need your eyes — but Express Grader gets everything objective graded instantly, which is where most of the time goes. For more detail on the platform itself, the official Pear Assessment documentation is the authoritative reference.
The bottom line
Express Grader turns Pear Assessment into a best-of-both-worlds tool: students get the focus and simplicity of a paper test, and you get automatic grading plus the full reporting power of the platform. Set the assignment to answer-on-paper, print clean bubble sheets, scan in good light, review the flagged answers, and your paper quiz becomes data you can actually teach from — no red pen, no late-night grading stack, no spreadsheet required.