
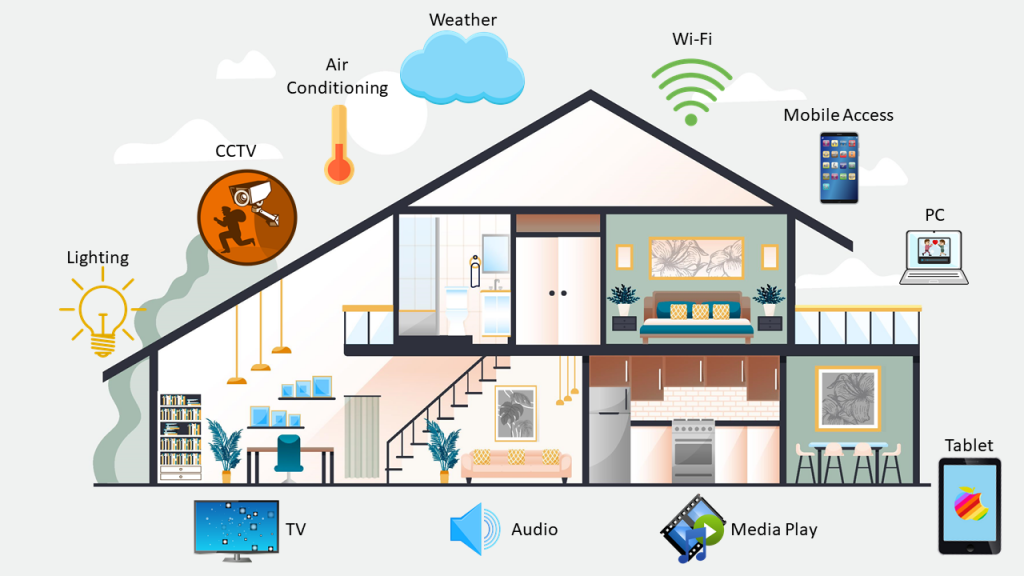
Walking into a house that automatically adjusts the thermostat, turns on the lights, and plays your favorite playlist feels like magic. But behind that seamless experience is a well-thought-out plan. Setting up a smart home requires careful consideration, from selecting the right devices to getting everything connected and running smoothly.
Planning Your Smart Home: Identifying Needs and Goals
Before buying a cart full of gadgets, figure out what you actually want to achieve. Are you looking to lower your energy bills? Maybe you want better security while you travel, or perhaps you just want the convenience of voice-controlled lighting.
Identifying your primary goals will guide your purchases and simplify your upcoming home automation installation. Rather than trying to automate every room at once, start small by focusing on one or two zones, like the living room or the front porch. Write down a list of daily annoyances you want to solve, such as forgetting to turn off the coffee maker or fumbling for keys in the dark. This targeted approach keeps your project focused and budget-friendly.
Choosing Your Smart Devices: Compatibility and Ecosystems
The secret to a successful smart home is ensuring all your devices communicate effectively. You need a central ecosystem to tie everything together. Popular choices include Amazon Alexa, Google Assistant, and Apple HomeKit.
Once you pick an ecosystem, check for compatibility labels on every smart plug, bulb, camera, or lock you buy. Mixing incompatible brands leads to app fatigue, where you need a dozen different applications just to manage your living room. Look for devices that support Matter, a new universal connectivity standard designed to make home automation installation smoother by allowing different brands to work together reliably on the same network. By standardizing your communication protocols early on, you prevent major technical headaches down the road.
The Home Automation Installation Process
Once your devices arrive, the physical setup begins. A successful home automation installation relies heavily on a strong, stable Wi-Fi network. Smart gadgets consume bandwidth and need consistent connectivity, so upgrading your router or adding a mesh Wi-Fi network is often a necessary first step.
Next, set up your central hub or smart speaker. From there, begin physically installing your devices one by one. Plug-in items like smart plugs and wireless bulbs are incredibly straightforward. However, installing smart thermostats, hardwired video doorbells, or smart light switches will require turning off your breaker and handling some basic electrical wiring. If dealing with electrical wires makes you uncomfortable, hiring a licensed professional to complete your home automation installation is always a safe and highly recommended option.
Configuration and Personalization
With the hardware in place, open your main ecosystem app to sync your devices. This is where you create custom routines so multiple actions happen at once. For example, you can program a “Goodnight” routine that locks the doors, turns off the interior lights, and lowers the temperature with a single voice command.
Living in Your Newly Automated Home
A smart home is designed to make daily routines easier, safer, and more enjoyable. Take the time to tweak your app settings as you figure out what works best for your family’s schedule. Start enjoying the convenience of your upgraded space, and feel free to add new devices to your network as your confidence grows.